اتصال Gmail به اودوو با Google OAuth
اودوو با OAuth گوگل برای جیمیل سازگار است. برای ارسال ایمیلهای امن از یک دامنه سفارشی، تنها لازم است چند تنظیم در پلتفرم Workspace گوگل و همچنین در بخش بکاند پایگاه داده اودوو پیکربندی شود. این پیکربندی با استفاده از یک آدرس ایمیل شخصی یا یک آدرس ایجاد شده در یک دامنه سفارشی کار میکند.
نکته
برای اطلاعات بیشتر، به راهنمای گوگل درباره تنظیم OAuth مراجعه کنید.
همچنین ببینید
انجام تنظیمات در گوگل
یک پروژه جدید ایجاد کنید
برای شروع، وارد کنسول API گوگل شوید. اگر حساب Google Workspace دارید، با آن وارد شوید. در غیر این صورت، با حساب جیمیل شخصی خود وارد شوید (این باید با آدرس ایمیلی که میخواهید در اودوو پیکربندی کنید، مطابقت داشته باشد).
سپس، روی Create Project کلیک کنید که در سمت راست صفحه OAuth consent screen قرار دارد. اگر قبلاً در این حساب یک پروژه ایجاد شده باشد، گزینه New Project در بالا سمت راست و زیر منوی کشویی Select a project قرار خواهد داشت.
در صفحه ، نام پروژه را به Odoo تغییر دهید و Location را جستجو کنید. مقدار Location را به Google Workspace organization تنظیم کنید. اگر از یک حساب جیمیل شخصی استفاده میکنید، مقدار Location را روی No Organization بگذارید.
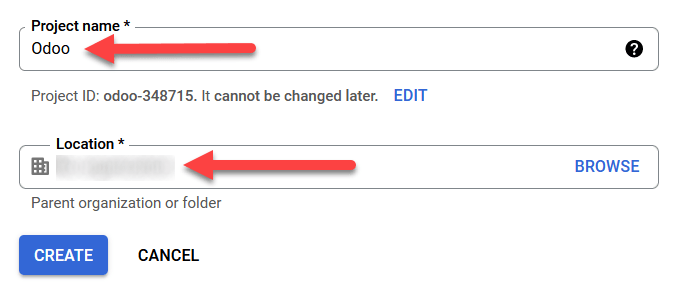
روی :guilabel:`Create کلیک کنید تا این مرحله تمام شود.
برگه رضایت OAuth
اگر صفحه به تنظیمات هدایت نشد، روی OAuth consent screen در منوی سمت چپ کلیک کنید.
در قسمت گزینههای User Type، نوع کاربر مناسب را انتخاب کنید و سپس دوباره روی Create کلیک کنید تا به صفحه هدایت شوید.
هشدار
حسابهای جیمیل شخصی تنها میتوانند نوع کاربر خارجی (External) داشته باشند، که یعنی گوگل شاید تأییدیه درخواست کند و یا حدودی (Scopes) برای آن اضافه شود. با این همه، استفاده از حساب فضای کاری گوگل امکان استفاده از نوع کاربر داخلی را نیز فراهم کرده است.
همچنین توجه داشته باشید که هرگاه اتصال API در حالت تست خارجی باشد، تأییدیهای از طرف گوگل لازم نیست. محدودیتهای کاربر در وضعیت تست به 100 کاربر تنظیم شده است.
ویرایش ثبت برنامه
در مرحله بعد ثبت برنامه پروژه را پیکربندی می کنیم.
در مرحله OAuth consent screen، در بخش App information، نام Odoo را در فیلد App name وارد کنید. سپس آدرس ایمیل سازمان را در فیلد User support انتخاب کنید.
سپس، در قسمت ، روی Add Domain کلیک کرده و odoo.com را وارد کنید.
سپس، در بخش Developer contact information، آدرس ایمیل سازمان را وارد کنید. گوگل از این آدرس ایمیل برای اطلاعرسانی درباره هرگونه تغییر در پروژه شما استفاده میکند.
سپس، روی دکمه Save and Continue کلیک کنید. بعد از آن، صفحه را با اسکرول به پایین رد کنید و دوباره روی Save and Continue کلیک کنید.
در ادامه، اگر همچنان در حالت تست (خارجی) کار میکنید، آدرس ایمیلی که در حال پیکربندی است را در مرحله Test users با کلیک بر Add Users وارد کنید، و سپس دکمه Save and Continue را بزنید. خلاصهای از ثبت برنامه نمایش داده میشود.
در نهایت به پایین اسکرول کرده و Back to Dashboard (برگشت به داشبورد) را بزنید.
ایجاد اطلاعات هویتی (اعتبارنامه)
اکنون که پروژه تنظیم شده است، باید اطلاعات ورود ایجاد شوند که شامل Client ID و Client Secret هستند. ابتدا در منوی کناری سمت چپ روی Credentials کلیک کنید.
Create Credentials را بزنید و OAuth client ID را از منوی باز شده انتخاب کنید.
در قسمت Application Type، گزینه Web Application را از منوی کشویی انتخاب کنید.
در فیلد نام عبارت
Odooرا وارد کنید.در قسمت Authorized redirect URIs، روی دکمه ADD URI کلیک کنید و مقدار
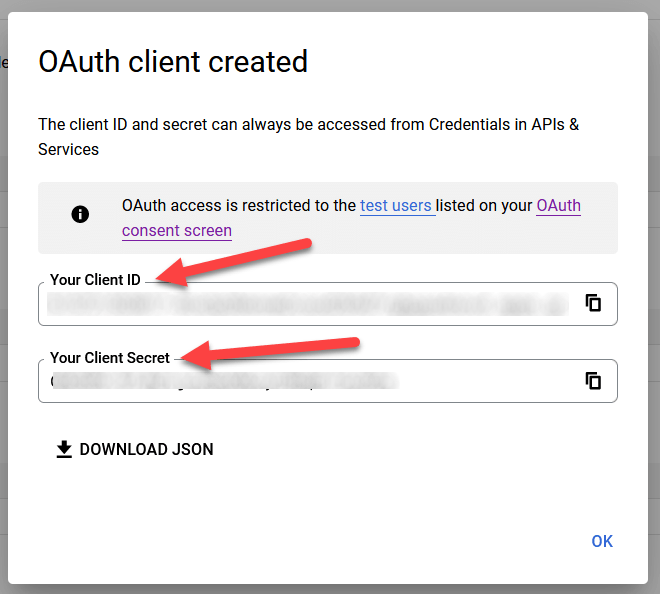
https://yourdbname.odoo.com/google_gmail/confirmرا در فیلد URIs 1 وارد کنید. حتماً بخش yourdbname در URL را با نام واقعی پایگاه داده Odoo خود جایگزین کنید.سپس، روی Create کلیک کنید تا یک Client ID و Client Secret برای OAuth ایجاد شود. در نهایت، مقادیر تولید شده را برای استفاده بعدی در تنظیمات Odoo کپی کنید و سپس به پایگاه داده سازمانیار وارد شوید.
راه اندازی در سمت سازمانیار
اعتبار گوگل را وارد کنید
ابتدا سازمانیار را باز کرده و به ماژول برنامهها بروید. سپس، فیلتر برنامهها را از نوار جستجو حذف کنید و عبارت گوگل را تایپ کنید. ماژول جیمیل گوگل را نصب کنید.
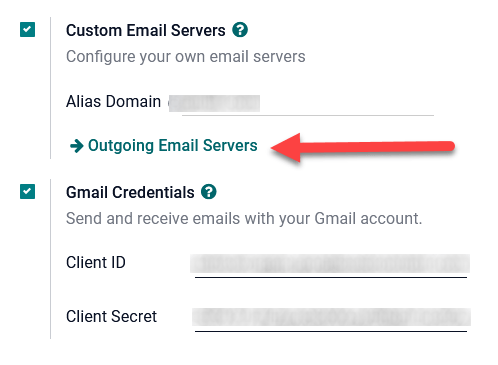
سپس، از مسیر بروید و در قسمت پیامرسان، اطمینان حاصل کنید که گزینه سرورهای ایمیل سفارشی یا سرورهای ایمیل خروجی فعال است. این کار گزینه جدیدی برای اطلاعات ورود جیمیل یا استفاده از سرور جیمیل ایجاد میکند. سپس مقادیر مربوطه را در فیلدهای شناسه کلاینت و رمز کلاینت کپی و جایگذاری کنید و تنظیمات را با کلیک بر روی ذخیره ذخیره کنید.
پیکربندی سرور ایمیل خروجی
برای پیکربندی حساب جیمیل خارجی، به بالای تنظیمات سرورهای ایمیل سفارشی بازگردید و روی لینک سرورهای ایمیل خروجی کلیک کنید.
سپس، روی جدید یا ایجاد کلیک کنید تا یک سرور ایمیل جدید ایجاد شود و فیلدهای نام، توضیح و نام کاربری (در صورت نیاز) را پر کنید.
سپس، روی احراز هویت OAuth جیمیل یا جیمیل (در بخش احراز با یا اتصال) کلیک کنید. در نهایت، روی اتصال حساب جیمیل کلیک کنید.
یک پنجره جدید با عنوان گوگل برای تکمیل فرآیند احراز هویت باز میشود. آدرس ایمیل مناسب را که در سازمانیار تنظیم شده است انتخاب کنید.
اگر آدرس ایمیل یک حساب شخصی باشد، یک مرحله اضافی نمایش داده میشود. در این صورت، روی ادامه کلیک کنید تا تأیید انجام شده و حساب جیمیل به سازمانیار متصل شود.
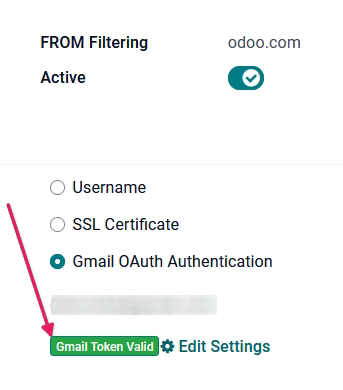
سپس، با کلیک روی Continue یا Allow، به سازمانیار اجازه دهید تا به حساب گوگل دسترسی پیدا کند. پس از آن، صفحه به سرور ایمیل خروجی جدیدی که در سازمانیار پیکربندی شده است باز میگردد. پیکربندی به طور خودکار توکن را در سازمانیار بارگذاری میکند و برچسبی با عنوان توکن جیمیل معتبر است به رنگ سبز ظاهر میشود.
در نهایت، تست اتصال را امتحان کنید. یک پیام تأیید باید ظاهر شود. حالا پایگاه داده سازمانیار میتواند ایمیلهای ایمن و مطمئن را از طریق گوگل با از احراز هویت OAuth ارسال کند.
سؤالات متداول Google OAuth
وضعیت انتشار تست تولید در مقابل
انتخاب گزینه زیربار برای وضعیت انتظار (به جای تست) پیام هشدار زیر را نمایش خواهد داد:
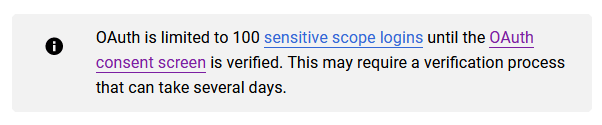
برای اصلاح این هشدار، به پلتفرم Google API بروید. اگر وضعیت انتشار به In زیربار تنظیم شده باشد، روی برگشت به حالت تست کلیک کنید تا مشکل اصلاح شود.
هیچ کاربر آزمایشی اضافه نشده است
اگر کاربر تستی به صفحه رضایت OAuth اضافه نشود، خطای دسترسی 403 نمایش داده خواهد شد.
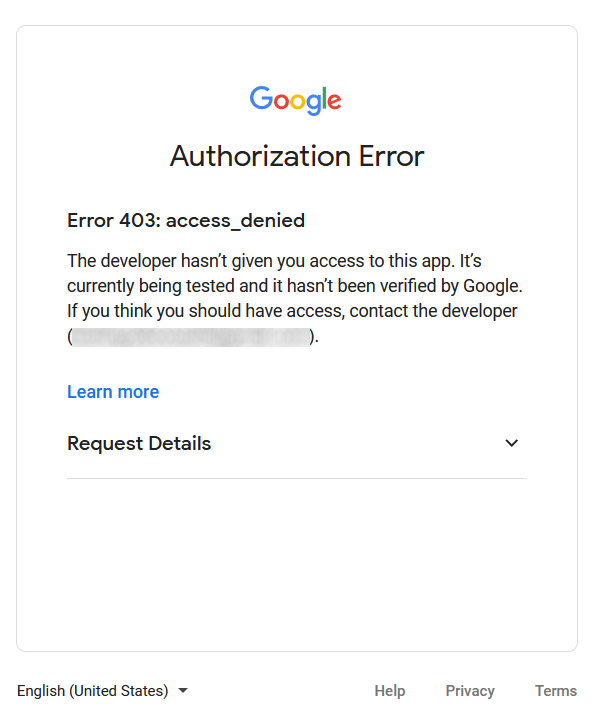
برای اصلاح این خطا، به صفحه OAuth consent screen در بخش APIs & Services بازگردید و کاربر(های) تستی را به برنامه اضافه کنید. ایمیلی که در سازمانیار پیکربندی کردهاید را اضافه کنید.
ماژول Gmail به روز نشده است
اگر ماژول جیمیل گوگل در سازمانیار به آخرین نسخه بهروز نشده باشد، پیام خطای ممنوع نمایش داده میشود.
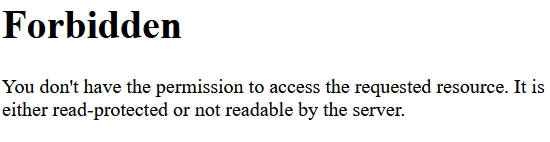
برای اصلاح این خطا، به ماژول بروید و عبارتهای جستجو را پاک کنید. سپس، جیمیل یا گوگل را جستجو کرده و ماژول جیمیل گوگل را ارتقاء دهید. در نهایت، روی سه نقطه در گوشه بالای سمت چپ ماژول کلیک کرده و گزینه ارتقاء را انتخاب کنید.
نوع برنامه
هنگام ایجاد اطلاعات ورود (OAuth شناسه کلاینت و رمز کلاینت)، اگر گزینه Desktop App برای Application Type انتخاب شود، خطای Authorization Error ظاهر میشود.
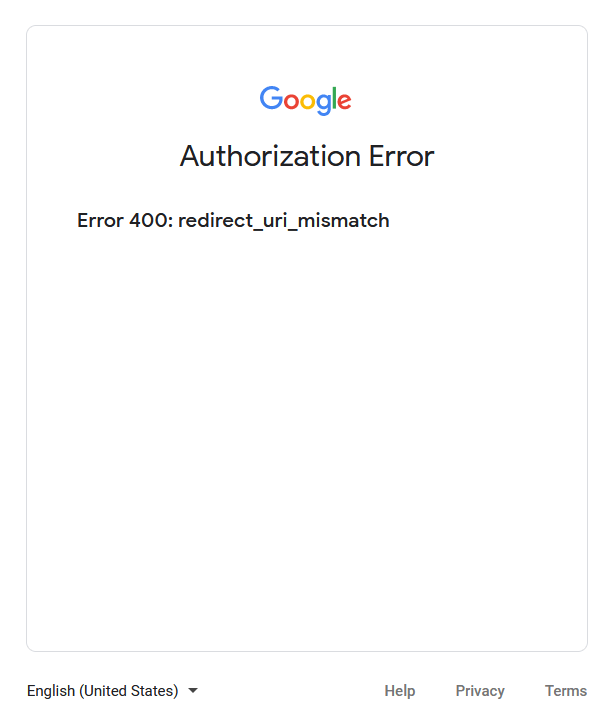
برای اصلاح این خطا، اطلاعات ورود قبلی ایجاد شده را حذف کرده و اطلاعات ورود جدیدی ایجاد کنید و Web Application را در Application Type انتخاب کنید. سپس، در قسمت Authorized redirect URIs، روی ADD URI کلیک کرده و https://yourdbname.odoo.com/google_gmail/confirm را در فیلد تایپ کنید. اطمنیان حاصل کنید که yourdbname را با نام پایگاه داده سازمانیار خود جایگزین کردهاید.